~a glimpse of life...a bit of this...a bit of that~

Thursday, September 12, 2013

Making it Ours...A Wall of Windows

If you peeked at my post about our drop cloth curtains,  then you know I like using antique elements in decorating and design.

What you might not know is that I love antique windows. 

I love antique windows...oh, I said that already.  I guess you could say I collect them.  I especially love when they still have old hardware on them.


This window is from my friend's old farmhouse in Colorado~
Living in PA turned my window interest into an obsession...lots of old houses, people doing lots of updating and renovating...antique windows everywhere :)  I would find one (or two or three), bring them home, and then they would sit in the garage...waiting.  I had some ideas of how to use them, but we also had lots of other stuff going on in PA, so the windows just stayed in storage.  Plus our home in PA was much smaller and it was harder to figure out where to put them.

By now you probably know that I really enjoy a bargain.  Out of all the windows I have, I've only paid for two...$2 for a 12 pane antique window at a garage sale in our little town of Media in PA...I bought the two they had :)  Some of my windows are from my friend's old farmhouse in Colorado...she replaced some windows and I happily took 4 of her old ones.  

I acquired all the others by "dumpster diving"...well, I didn't actually go into any dumpsters, but I did take them out of folks garbage.  Seriously, people just put these beauties out on the curb to be picked up with their garbage.  It got to the point that if the girls noticed a window (or something else they thought I might be interested in) they would make sure to point it out...I'm training them well ;)

We packed up those windows and moved them to Texas with us.  Houses here in Frisco are generally newer (and larger, for that matter) and with that comes taller ceilings and more wall space.  We have a large, tall wall in the family room and every picture I put on it looked like a postage stamp on an envelope because of it's dimensions.  I tried a bookcase and it looked miniature.  What to do, what to do?

And then I realized I had a place to display at least some of my windows!

I would love to paint the wall, but getting up on ladders or scaffolding is not an option and hiring a painter is not in the budget right now.  I needed to bring in some color, so I decided to paint the windows turquoise...a favorite color of mine.  I considered using that awesome chalk paint, but decided it was too expensive for the amount of paint I actually needed for this project.

So, once again, I turned to good old craft paint.  I bought a bunch of different shades of blue, green, and turquoise...and some gray to add to the mix.  I squirted the colors onto a paper plate and, with my help, I let the big girls mix colors and paint the windows.  I followed behind them with a cheap craft sponge "brush" to spread and rub off the paint.  

Just the beginning~
I loved how they turned out, but they were a bit brighter than I had intended...plus, I wanted more of the antiqued paint look...what to do?

I love turquoise!!!
I simply painted brown over the turquoise and wiped it off with a craft sponge.  Voila...this is more what I had in mind :)


The hardest part was determining how to arrange them and then getting them up on the wall.  I made a diagram of the wall and little moveable paper windows and the girls and I moved them around until we found a layout we liked.  Once again, my hot handyman worked hard getting those windows up on the wall.  Those nice little air ducts made for some spacing challenges.  

Here's a huge shout out to Steve for very patiently working hard to get our beautiful windows hung.
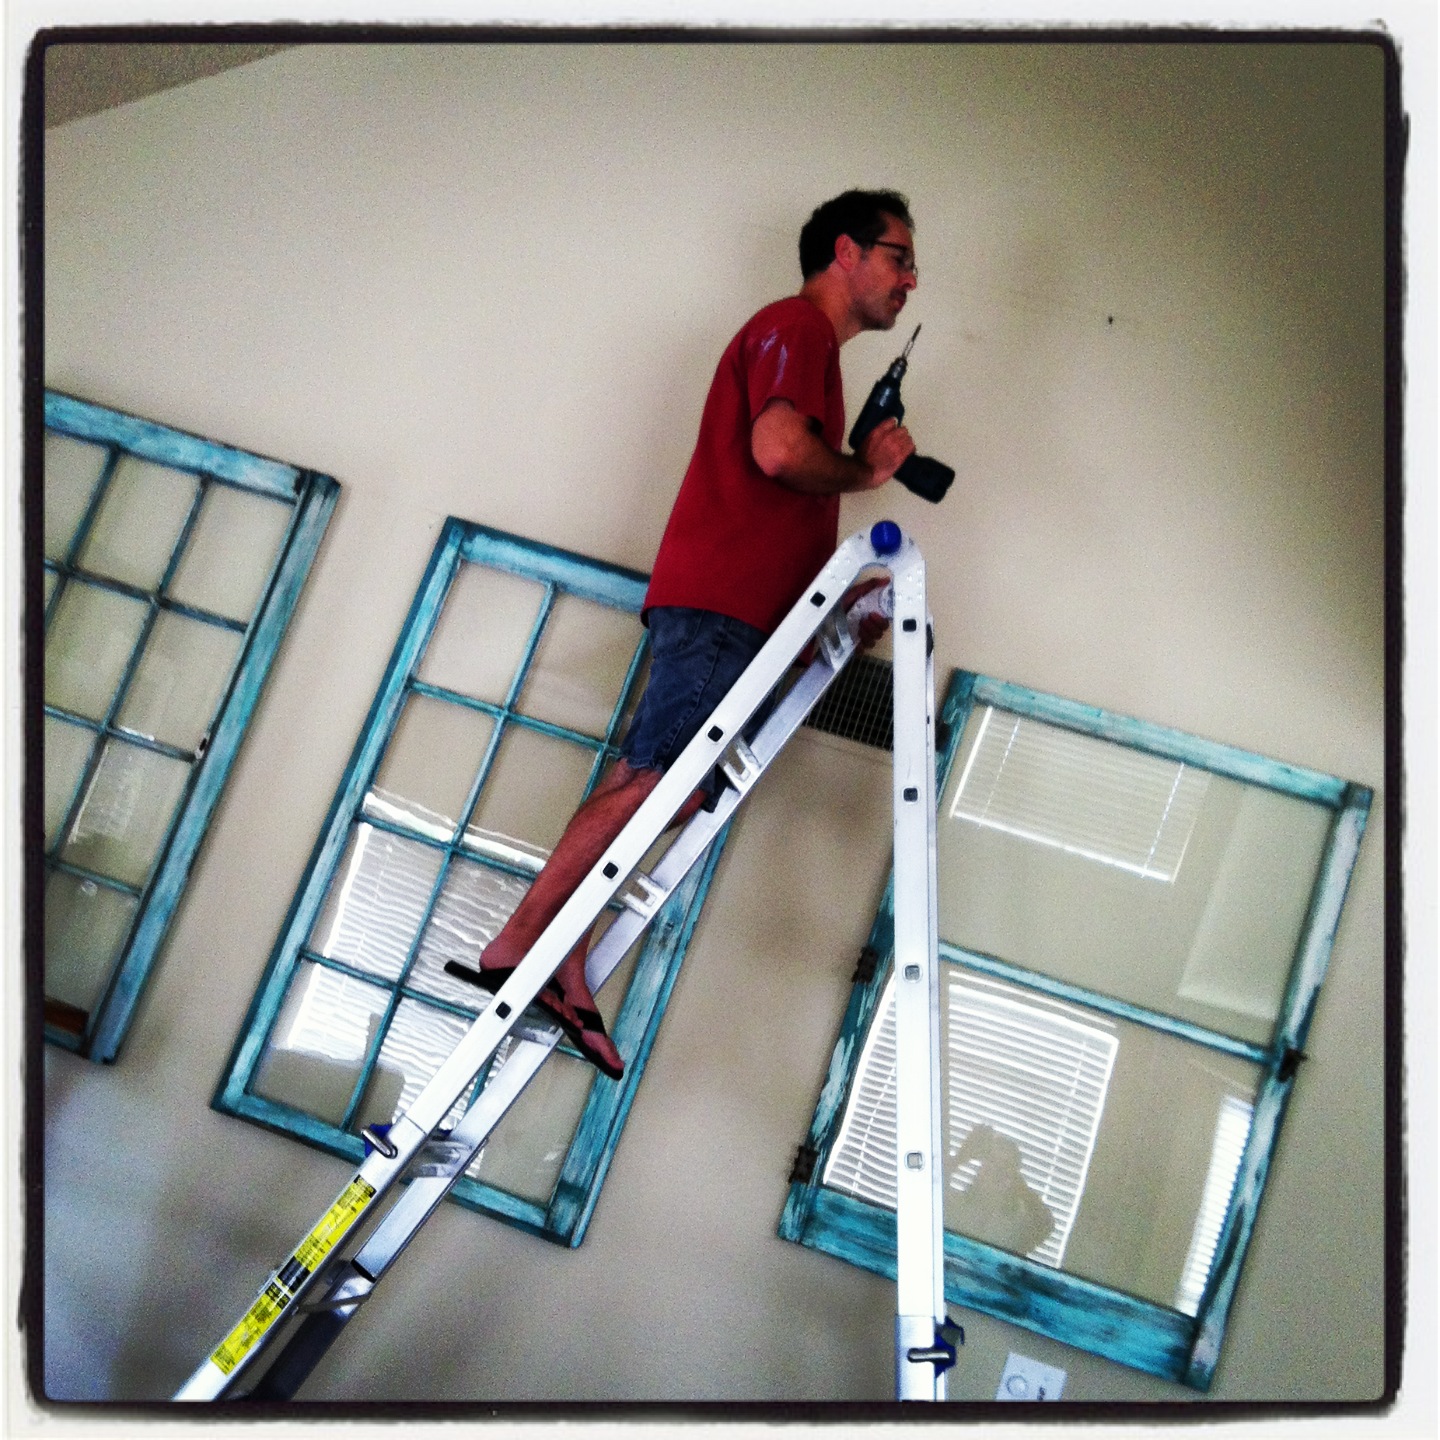


My hot handyman~

And here's the final look.  I also put one on the mantel :)
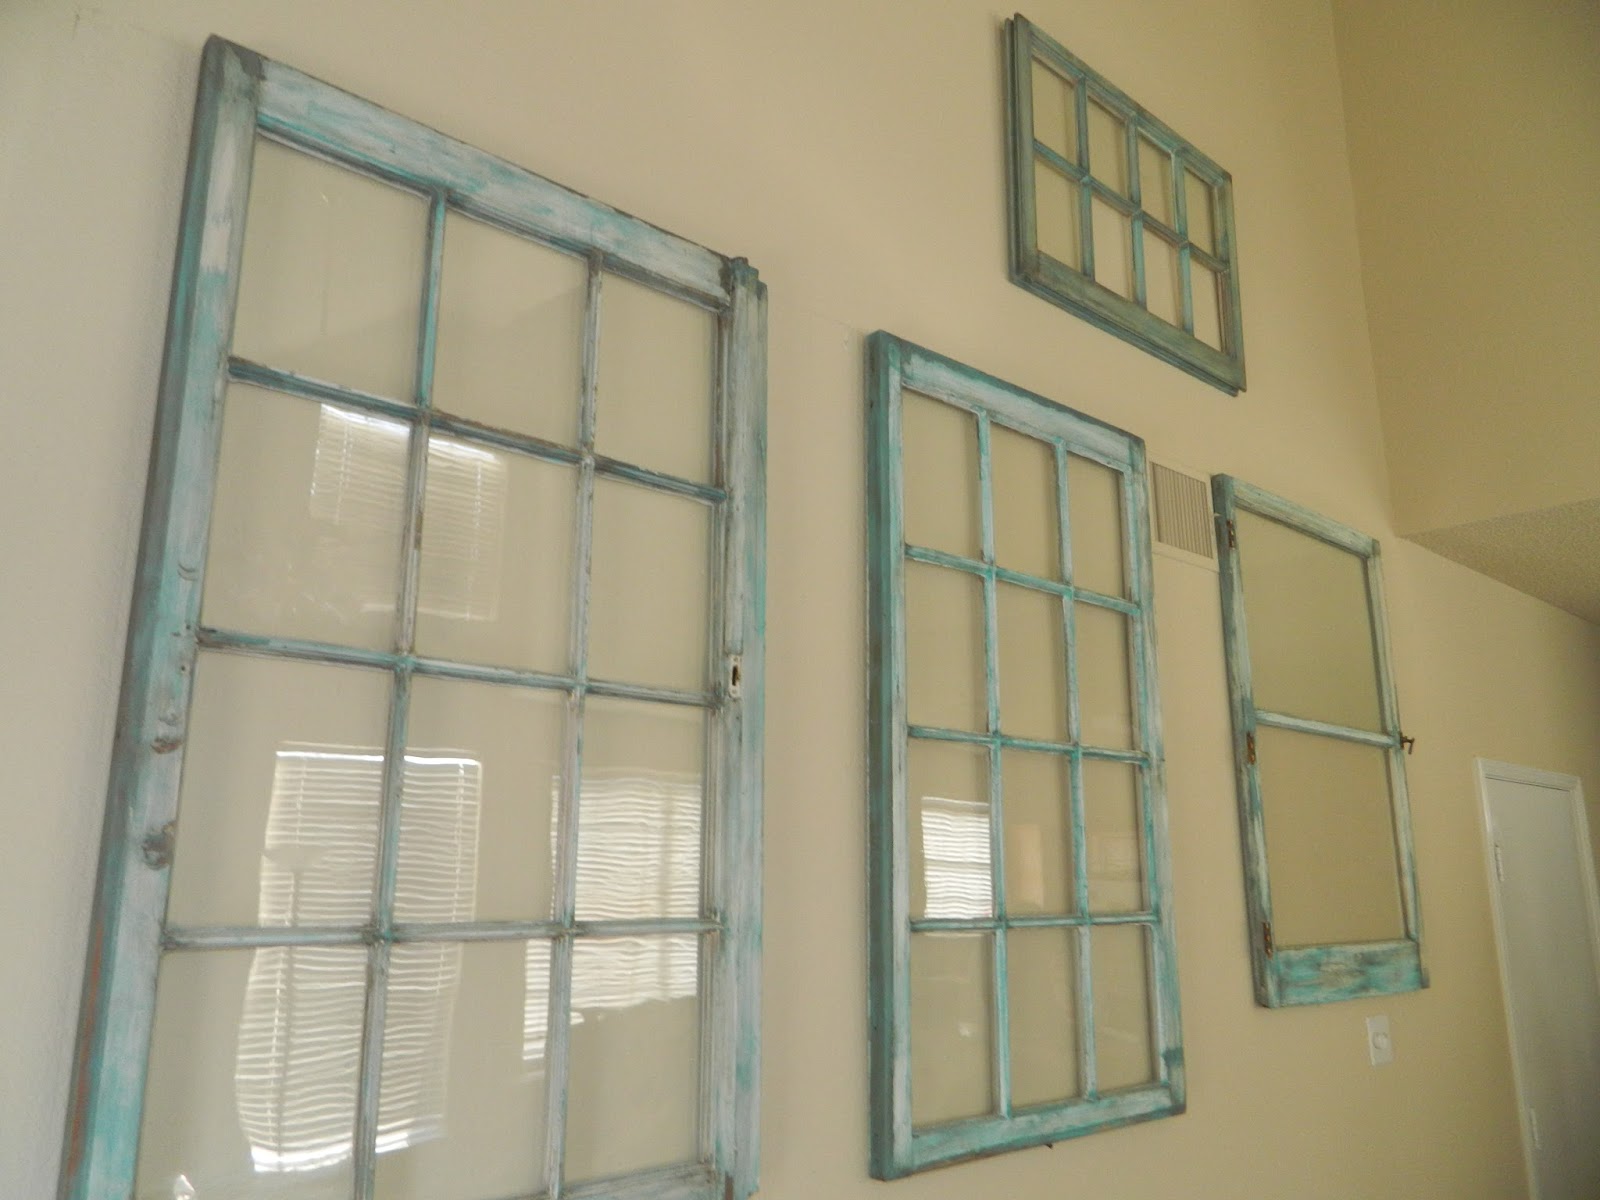


Wall of windows~
I LOVE this big brick fireplace!
So thankful for this home~
Rach


Monday, September 9, 2013

Super Healthy Peanut Butter Treats!

Just thought I'd share a recipe that has been well received in our house.  These peanut butter balls are healthy and full of yumminess :)

 
Peanut Butter Yummies~

I was inspired by a recipe I saw (a long time ago) on another blog...MckMama (back when she blogged) and then I found that there are a million different variations on Pinterest.  I knew I wanted a snack that was healthy, full of protein, low in carbs, a good source of healthy fats, and gluten free or very low in gluten...and it needed to taste great too.  I also needed it to be "low texture" because Gracia didn't care for the nutty texture of my first couple of batches.

Here's what I came up with.

Ingredients:  One 26 ounce jar of creamy natural peanut butter.
1/2 cup of raw cashews, chopped or ground
1/2 cup of raw sunflower seeds, whole or ground
1/2 cup of pistachios, chopped or ground
8 Tablespoons of flax meal
4 scoops of chocolate whey protein (I use a gluten free brand)
6 ounces of bitter-sweet chocolate chips
4 Tablespoons of hemp hearts
4 Tablespoons of PB2...a peanut butter powder you can find at more health conscience or natural grocers.

To make:
I heat the peanut butter in my microwave for 1 minute to make it more mixable.  I use a coffee grinder to grind my nuts and seeds into a flour...remember, I needed mine to be "low texture".  Add all the ingredients together and mix well.  The heat from the warm peanut butter usually melts my chocolate chips...perfect!


Sunflower seed "flour"~
Ready to mix, mix, mix~
Roll into round balls and then roll in hemp hearts.*  Mine are probably about an inch and the batch made 83.  I have also rolled them in coconut, flax seeds, and chia seeds.  I personally prefer the hemp hearts and coconut...the flax and chia seeds seem to get stuck in my teeth and mouth.  I want to try cocoa powder sometime.  Store in the fridge.

*You don't have to roll them in anything.  I left some plain for Gray because she has some "texture challenges".  But if you don't coat them with something, make sure they are not touching when you first put them in the fridge...otherwise they'll stick together.  Now that I'm writing and thinking and since I've done some "plain" ones for her, I'm considering just smoothing out a whole batch using parchment paper and a cookie sheet...then I could cut it like fudge after it chills...because I will admit all that rolling is a bit labor intensive.

As I'm sure you can tell, you can add just about anything to these to modify them to your taste and preferences...not a fan of raw cashews, use almonds instead...not a fan of raw nuts, use roasted if you prefer...sunflower seeds not your favorite, maybe walnuts or pecans would be perfect for you...never even heard of hemp hearts, you should remedy that...you get the idea ;)  I added natural coconut flakes to a batch once and they were awesome...but somehow Gray managed to spit out each.little.bit.of.flake...that was messy :)

I did a nutritional breakdown of my last batch...they are not for the low cal, low fat crowd...but that whole low fat, low calorie nutritional "advice" is proving to be not-so-good-for-you after all...remember, these are full of monounsaturated fats and that kind of fat is good for you.

Anyway, here's the scoop.  I measured as well as I could and tried hard to be accurate, but these numbers could always be off by a bit.  The breakdown per peanut butter ball is...

Calories: 88  
Fat: 6.5 grams  
Protein: 3.25 grams 
Carbs:  4 grams

We eat them as a snack and even enjoy them as part of our breakfast.   

Just another shot of the peanut butter yummies~
Hope you try them...let me know what you think or what you variation you come up with :)

Blessings...here's to happy, healthy snacking~

Rach